ABOUT CT-MEASUREMENT
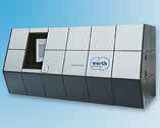
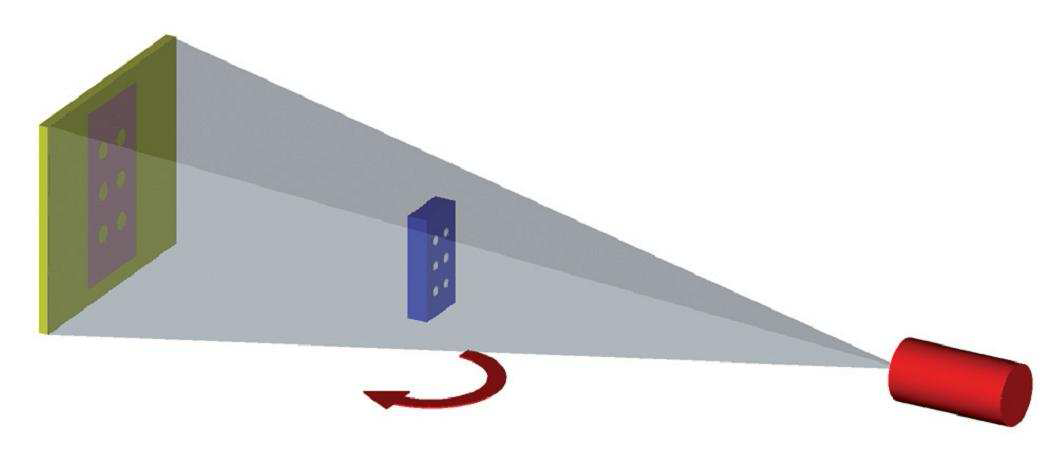
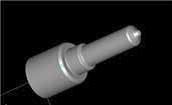
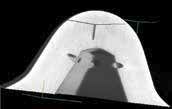
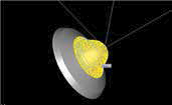
The item is positioned on a rotating table in the CT machine between the X-ray source and the sensors, which makes the scanning possible. During the computer tomography, an X-ray image is made of the item and positioned on the worktable which is formed on a detector. Every pixel of the image on the detector is digitalised, so a digitalised X-ray image is generated. Constantly rotating the item and making digital X-ray images we get the 3-dimensional image of the item. Thus, the item is shown in 3-dimensions. The representation does not only mean the contour of the item but the material thickness and material quality. This makes the process unique.A
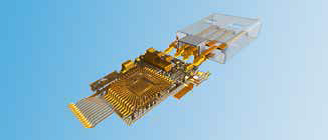
Items of almost all materials can be shown in 3-dimensions with this measurement method, even if they are made of one or more pieces. Even the individual components in the item are virtually removable with the help of the metrological software. Thus every diagnostic test and examination is applicable on the assembled item without damaging it.
The item placed in the CT machine can consist of several materials, such as different types of plastic, metal (e.g. aluminium, copper and steel up to a particular material thickness), china, glass and carbon fibre.
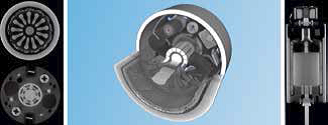
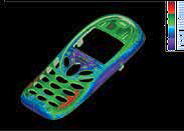
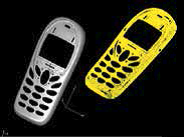
In addition to geometric and accurate size measurements on the 3-dimensionally shown item, it is possible to examine cross-sections and to compare with 3-dimensional CAD drawings (by putting them on top of each other, the ‘BestFit’ method).
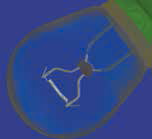
Outside of the geometrical definition of item, the measurements with the CT machine make it possible to examine cracks, fractures, and inclusions.
FIELDS OF APPLICATION
- Dimensional size measurement
- Comparison with the CAD model
- Non-destructive testing of materials (cracks, inclusions, bubbles)
- Analysis of items of multiple components in an assembled state
- Analysis of interfaces
ADVANTAGES OF MEASUREMENT WITH CT MACHINE:
- Rapid analysis compared to conventional methods
- Fast scanning of the whole item, with the possibility of immediate analysis
- the complex geometrical test can be done independently after the scan
- measurement and evaluation can happen simultaneously
- measurement programmes can be created for recurring tasks, making fast serial measurements possible
- sufficient measurement accuracy
- standard methods for maintenance, calibration and recirculation
- non-destructive testing of materials
- possibility for a concentrated measurement when we want to examine a smaller piece of a larger item
- suitable for testing assembled items of various materials, the parts of the item can be shown together or individually
- possibility of interface analysis of components
